
Epoxy · 7 steps
Marble-effect tabletop
Use a thin-build epoxy coating approved for the tabletop and colorants. This is a decorative coating, not a deep casting or structural repair.
Step 1. Prepare and protect the top
Start with a rigid, level, well-supported tabletop. Repair defects and confirm adhesion to any existing finish. Clean, prepare and remove dust as specified. Protect the surrounding area and underside from drips; plan how the edge will be coated.
Sanding block on the surface
Clean before sanding, then remove dust. Confirm compatibility with existing finishes. Step 2. Seal and build the background
Seal porous areas and apply the approved uniform background, commonly white for a pale marble effect. Let it reach its specified overcoat condition. Do not use an arbitrary paint or wet sealer beneath epoxy.
Build the background first
Use an approved opaque background and coating build. Step 3. Plan and mix the colors
Approve a small sample with the intended final finish. Choose one main color and a small accent. Measure and mix at the exact A:B ratio, then divide and tint only as permitted. Keep pigment loading and each batch working time under control.
Measure A + BMix thoroughlyUse the exact product ratio and measurement basis. No universal ratio is shown. Step 4. Spread the main coating
Distribute the base-color epoxy at its specified coverage and thin-film build. Coat edges using the approved method and maintain a wet edge. A coating epoxy should not be poured at river-table casting depths.
Build the background first
Use an approved opaque background and coating build. Step 5. Draw the marble veins
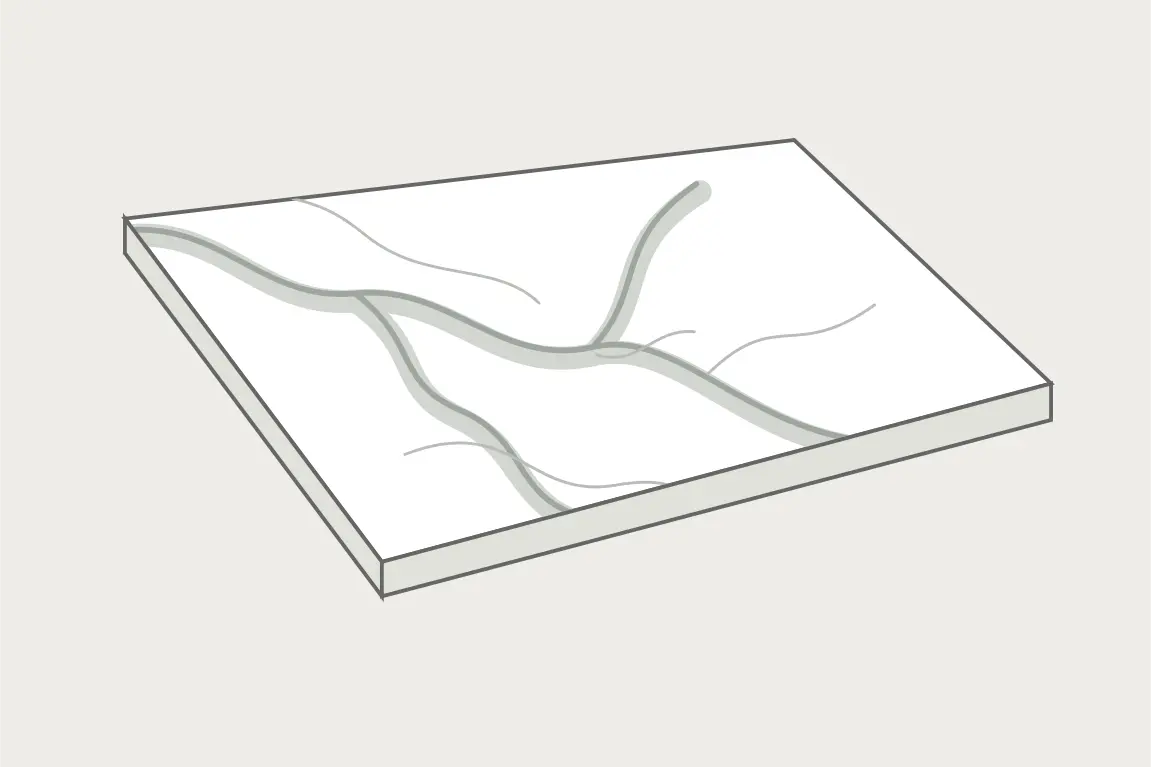
While the main layer is workable, add a few narrow accent lines and gently vary their direction with an approved tool. Leave open background between veins. Stop before the film thickens; avoid repeated blending, improvised solvents and open flame.
Place a few deliberate veins
Practice the color and movement on a sample. Stop before the resin thickens. Step 6. Inspect and finish
Protect from dust and inspect at the required overcoat condition. Resolve soft spots, grit or raised defects using the approved repair. Apply a compatible clear wear coat only when the system calls for it, following its preparation and recoat window.
Place a few deliberate veins
Practice the color and movement on a sample. Stop before the resin thickens. Step 7. Cure before everyday use
Wait for the actual service cure before loading or cleaning the top. Use trivets and cutting boards; epoxy is not automatically heatproof, knife-resistant or approved for direct food contact. Clean with the products and methods allowed for the final surface.
Let the finished top reach service cure
Follow the final coating cure and care requirements. Use trivets and cutting boards.