
Polyester repair · 7 steps
On a surface
The existing surface stays in the part: prepare it for bonding and do not apply release agent. Wax belongs only on a final exposed layer when specified by the system.
Step 1. Inspect the repair
Identify the material and inspect the damage. For deep cracks, delamination or structural repairs, define the repair procedure first.
Identify the substrate and its condition
Confirm compatibility and the extent of damage before proceeding. A surface finish does not replace a structural repair. Step 2. Prepare the bonding area
Remove wax, grease and contamination before sanding. Remove damaged material and prepare the repair profile for the job. Remove dust.
Wipe clean first
Sand the clean surface
Remove dust
Remove wax and contamination before sanding. Use the specified repair profile, abrasive and final cleaning method. Step 3. Cut the fiber and mix the resin
Prepare the specified reinforcements and check their fit. Mix a manageable amount of unwaxed laminating resin according to its instructions.
Prepare the specified layers
Then prepare the resin
Follow the laminate design and unwaxed laminating resin instructions. The illustration does not prescribe a ply count or catalyst ratio. Step 4. Wet out the reinforcement
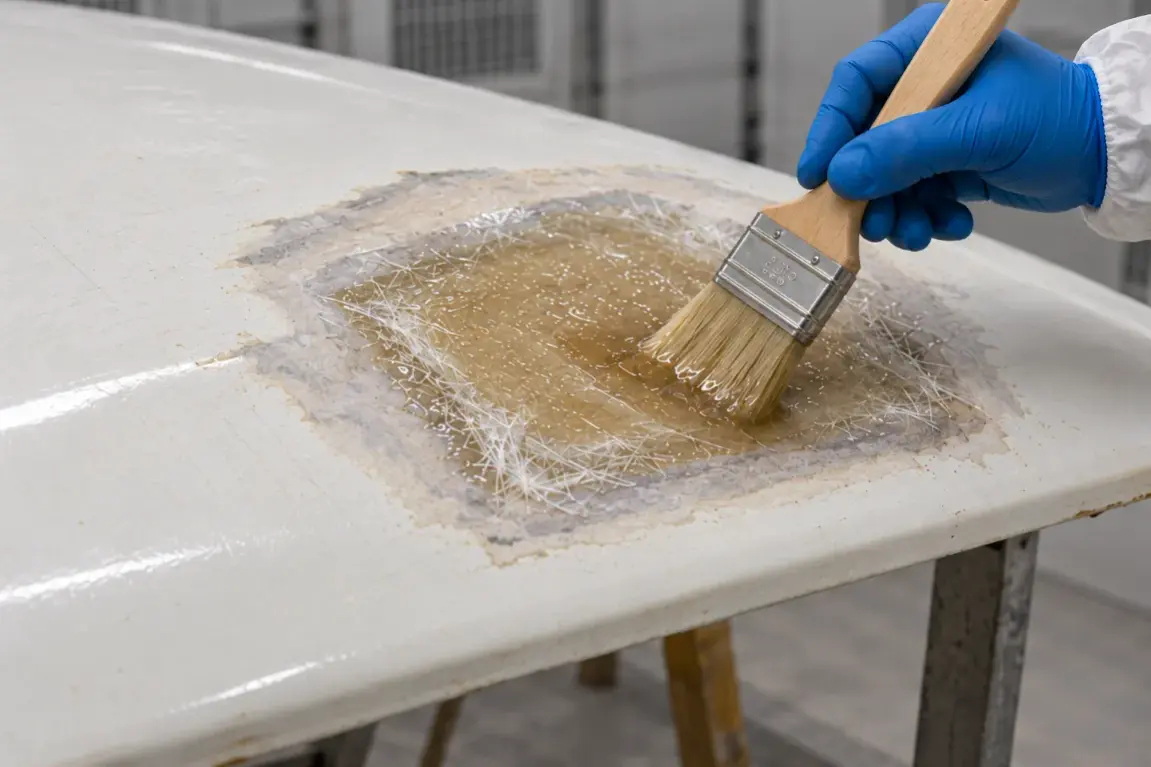
Apply resin and place the fiber according to the repair sequence. Wet out the fiber without leaving dry areas.
Place the reinforcement
Wet out and make contact
Use the reinforcement and sequence specified for the job. Wet out without dry areas or bridging; the backing shown is generic. Step 5. Consolidate and complete the layers
Remove air and inspect each layer before continuing. Observe the interval for adding layers and the system's buildup limits.
Remove trapped air before covering
Consolidate each layer and inspect before adding another. Follow the allowed buildup and recoating intervals. Step 6. Allow to cure and prepare the finish
Allow the specified cure to develop. Before sanding or coating a cured surface, perform the required cleaning and preparation.
Allow the required cure
Remove residue before finishing
After the required cure, remove wax, barrier residue or contamination using the specified method before sanding or coating. Step 7. Apply the chosen finish
For a gelcoat finish, continue to Gelcoat application → On a surface. For another finish, follow its compatibility and application instructions.
Apply evenly
Verify the specified thickness
Use the permitted application method and measure the specified wet-film thickness. Observe coat intervals; this diagram is not to scale.