
Gelcoat application · 9 steps
How to color polyester gelcoat
White for pale shades, neutral for stronger colors. Blend compatible pigment before MEKP, and judge a separately cured sample rather than the color in the cup.
Step 1. Confirm the products and prepare safely
Use polyester gelcoat and pigment explicitly approved for that system and intended service. Read their technical data sheets and SDS for pigment limits, measurement units, compatible MEKP, ventilation and protection. Gather clean, dry tools. If compatibility or the permitted amount is unknown, ask the supplier before mixing.
Identify the complete system
Check the working conditions
Check the actual product instructions for compatibility, measurement basis, conditions and protection. Containers are schematic, not product recommendations. Step 2. Choose white or neutral
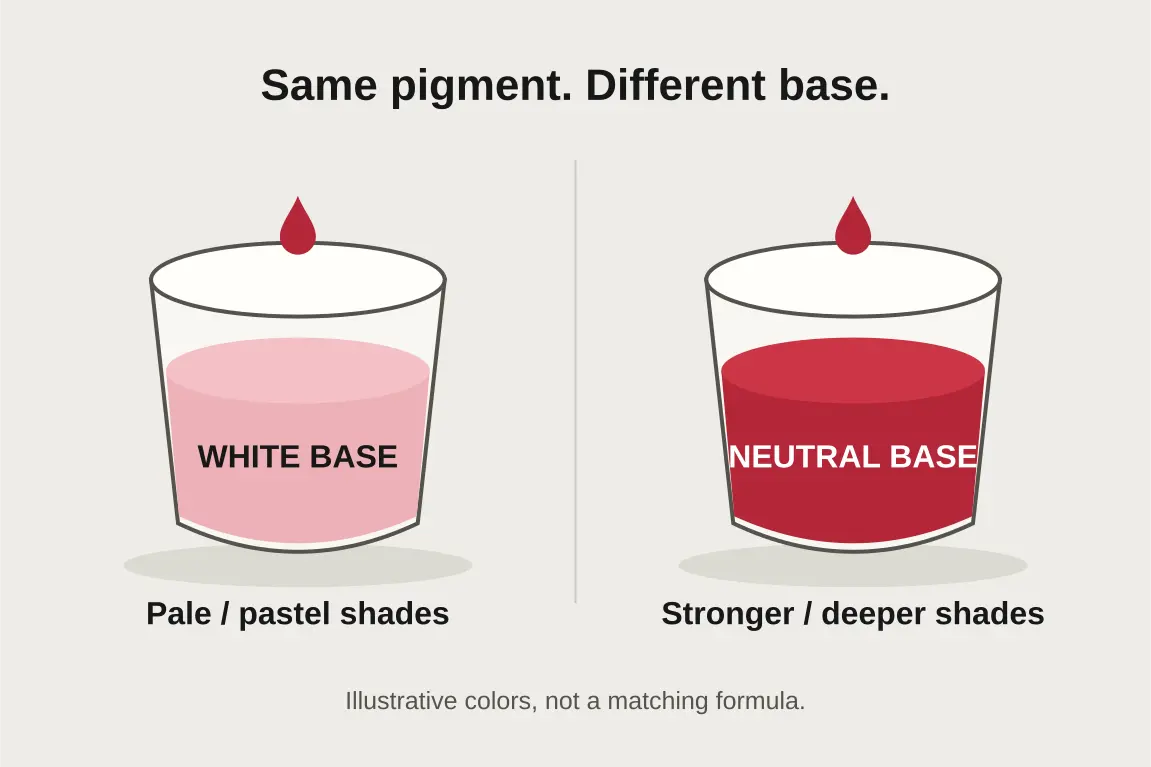
Choose white gelcoat for white, cream and pastel shades; its existing white pigment lightens added colors. Choose an appropriate neutral base for stronger, darker or brighter colors. Neutral does not necessarily cure transparent. Adding more pigment cannot reliably turn a white base into a saturated color.
White base: pale shades
Neutral base: stronger shades
The same compatible pigment behaves differently in white and neutral bases. These colors illustrate the principle, not an exact formula. Our pigment colors: white vs. neutral
Explore the color families in our pigment range, including colors not currently shown in the online shop. Package sizes are grouped together. This is a color reference, not a stock list.
Illustrative shades by gelcoat base Pigment color White base Neutral base Black Lamp black / Black Soft gray Black Blue Phthalo blue / Blue Light blue Deep blue Green Phthalo green / Green Pale green Deep green Yellow Bright yellow / Yellow Pale yellow Bright yellow Yellow oxide Yellow oxide / Mostaza (mustard) Warm cream Mustard Red Quinacridone red / Red Pink Strong red Red oxide Soft terracotta Earthy red Violet Quinacridone violet / Violet Lavender Deep violet White Titanium white / White White White Visual examples, not exact matches. These squares are not measured mixes or previews at the 1% and 10% limits. Pigment strength, base, amount, film thickness and cure all affect the result. Related color names do not mean identical formulas.
Mica and pigment-powder kits are separate effect products, not represented in this opaque-color comparison. Confirm their individual colors and gelcoat compatibility before use.
Step 3. Measure using the approved units
Use the volume-based reference below: up to 1% pigment for white gelcoat and 10% for neutral. These are limits, not target doses. Ounces by weight are not fluid ounces. Count all pigment colors toward the total. Weight-based pastes and other systems need their own approved ratios.
How much pigment can I add?
A useful volume-based reference: white up to 1%; neutral up to 10%. These are upper limits, not target doses. Start with less, blend, and check a separate cured sample.
Maximum pigment by volume at the reference limits Gelcoat before pigment White base1% maxPale and pastel shades Neutral base10% maxStronger and darker shades 100 mL 1 mL 10 mL 250 mL 2.5 mL 25 mL 500 mL 5 mL 50 mL 1 US pint 16 US fl oz 0.16 US fl oz4.73 mL 1.6 US fl oz47.31 mL 1 US quart 32 US fl oz 0.32 US fl oz9.46 mL 3.2 US fl oz94.63 mL 1 US gallon 128 US fl oz 1.28 US fl oz37.85 mL 12.8 US fl oz378.54 mL How to read it: 1% means 1 part pigment per 100 parts gelcoat; 10% means 10 parts per 100. Use the same volume units for both. Count all pigment colors together, and add pigment before MEKP.
US fl oz are fluid ounces, not ounces by weight. The mL equivalents for US batches are rounded down to two decimals.
General reference for compatible polyester tints. Product and color combinations can have different limits. Weight-based pigment pastes need their own approved ratios; these volume percentages are not weight recipes.
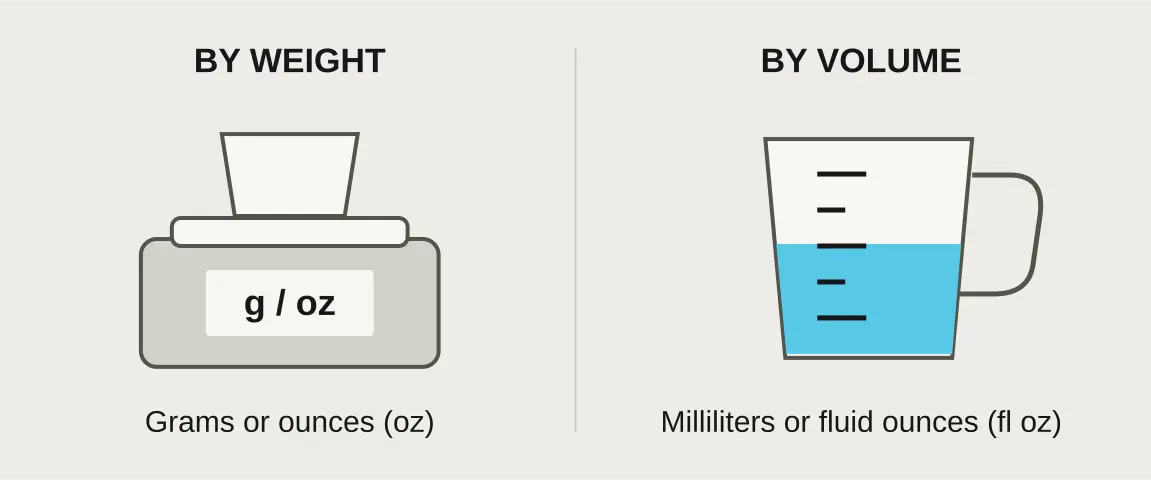
Use the units in the product instructions. Weight and volume are not interchangeable. Step 4. Blend pigment before catalyst
Condition the gelcoat as instructed, then add the measured pigment to uncatalyzed gelcoat. Mix using the supplier-approved method, including the sides and bottom, until uniform and free of streaks. Avoid whipping in air. Do not add MEKP yet, and do not use unapproved dyes, paint tints or thinners.
Pigment into uncatalyzed gelcoat
Blend until uniform
Stay within the approved total pigment loading. Mix thoroughly without whipping in air; do not add MEKP yet. Step 5. Make a separate cured test sample
Transfer a small measured portion to a separate container. Catalyze only this sample using the specified MEKP and ratio basis; keep the main batch uncatalyzed. Apply at the specified thickness over representative backing, using the intended surface-cure method. Let it fully cure and finish it as instructed before judging.
Main batch: uncatalyzed
Test portion: catalyzed separately
Transfer a small measured portion to a separate container. Catalyze only that portion, then fully cure and finish the sample before evaluating it. Step 6. Check color and hiding power
Compare the cured sample with your target in suitable lighting. Check both shade and whether the backing shows through. Adjust only the uncatalyzed batch with measured additions within the approved total pigment limit, then repeat the sample. Record the successful formula and conditions. More pigment is not always the answer.
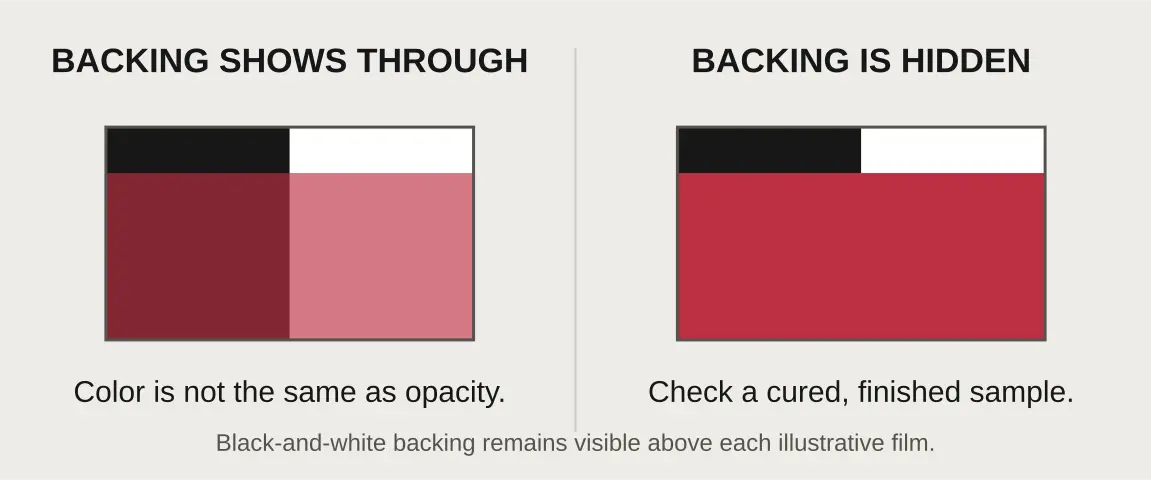
A strong color can still be translucent. Compare samples at the specified film thickness; these are illustrations, not tested formulas. Step 7. Prepare the mold or repaired surface
Before catalyzing the application batch, finish preparation. A mold needs its approved release system and gelcoat compatible with the backing laminate. An exposed repair needs a sound, compatible substrate, contamination removed before sanding, and the specified surface preparation. Confirm the application method, film thickness and final-cure treatment.
Mold: prepare for release
Repair: prepare for bonding
These are different preparations: the mold separates, while the repair substrate stays in the part. Do not put release agent on a bonding surface. Step 8. Catalyze only what you can apply
Once the color is approved and preparation is complete, measure a manageable portion. Add the specified MEKP last, using the gelcoat instructions for quantity, weight or volume basis, temperature and working time. Mix as directed. Never assume a universal catalyst percentage or return catalyzed material to the original container.
MEKP last, when ready to apply
Mix and use within working time
Use the actual gelcoat instructions for catalyst type, amount, measurement basis and conditions. The illustrated color is not a pigment recipe. Step 9. Apply, cure and inspect
Apply at the specified thickness. Keep mold gelcoat free of finishing wax where laminate must bond. Exposed finishes need an approved surface-cure method, such as specified wax or PVA. Follow cure, residue-removal and finishing instructions before use. Investigate tackiness; extra catalyst is not a surface-cure fix. Handle leftovers per SDS.
Finish only when ready
Inspect before use
Use the approved surface-cure method first, then remove residue and finish as specified. Check cure, color and coverage; appearance alone does not prove full cure.