
Gelcoat application · 7 steps
In a mold
Gelcoat goes on first and becomes the outside face after demolding. Do not add finishing wax to the face that will receive the laminate.
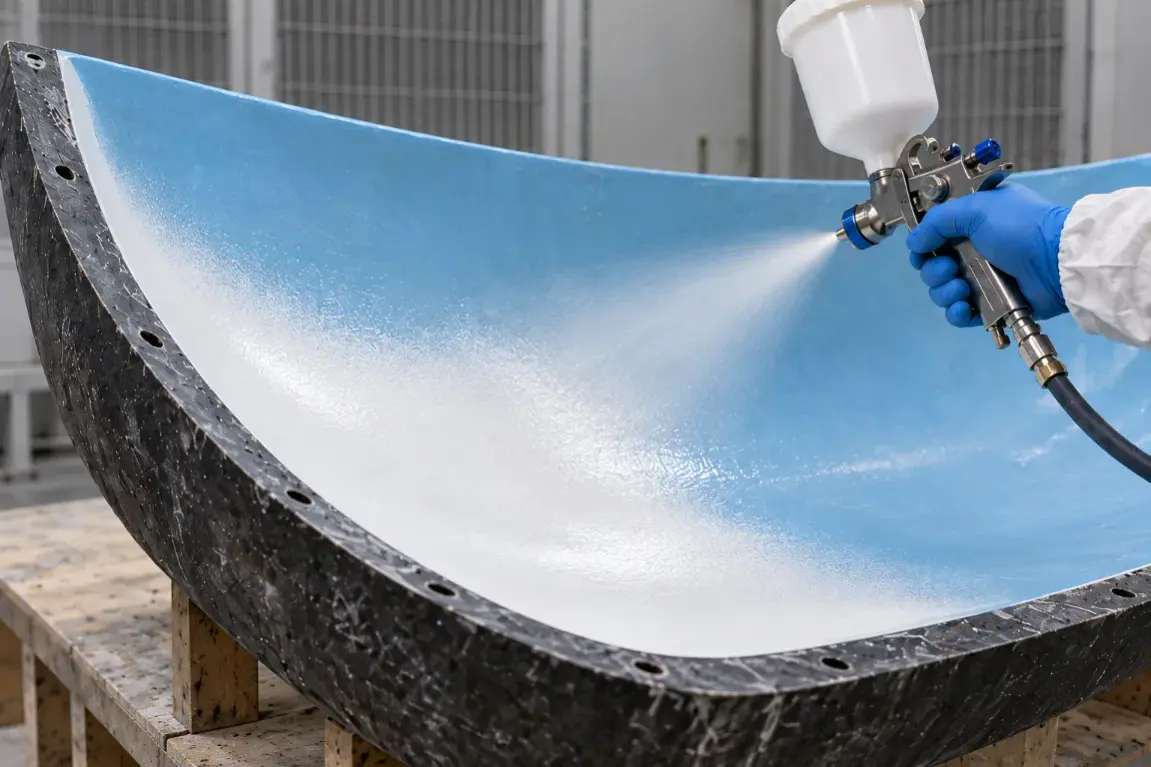
Step 1. Prepare the mold
Clean the mold and apply the specified release system. The finish will reproduce the mold surface.
Clean and inspect the mold
Apply the release system
Release agent goes on the mold so the part can separate. It is not finishing wax and does not belong on a repair bonding surface. Step 2. Prepare unwaxed gelcoat
Use gelcoat without finishing wax, suitable for the application method and the laminate that will go behind it.
Gelcoat first, on the prepared mold
Use suitable unwaxed gelcoat where laminate will bond. The release layer is below the gelcoat, against the mold; layer thicknesses are schematic. Step 3. Mix and catalyze
Homogenize the material. If tinting, use approved pigment within its limits, blend before MEKP and validate a separate cured sample. Catalyze only an amount you can apply within its working time, following the specified ratio and measurement basis.
MEKP last, when ready to apply
Mix and use within working time
Use the actual gelcoat instructions for catalyst type, amount, measurement basis and conditions. The illustrated color is not a pigment recipe. Step 4. Apply and measure
Apply a uniform film using the permitted method and verify the specified wet-film thickness. Check corners, thin areas and buildup.
Apply evenly
Verify the specified thickness
Use the permitted application method and measure the specified wet-film thickness. Observe coat intervals; this diagram is not to scale. Step 5. Wait before laminating
Wait for the specified backing condition before placing resin and fiber. Do not rely on the clock alone.
Check readiness for the backing laminate
This is the stage for adding the backing laminate, not a generic instruction to wait for full cure. Check the specified condition and window, not just the clock. Step 6. Apply the fiberglass backing
Add the first fiber layer with laminating resin and remove air. Continue with the layers specified for the part.
Place the reinforcement
Wet out and make contact
Use the reinforcement and sequence specified for the job. Wet out without dry areas or bridging; the backing shown is generic. Step 7. Allow to cure and reveal the finish
Complete the laminate and allow it to cure before demolding. Once the part is separated, the gelcoat is on the visible face.
Meet the demolding requirements
Separate and inspect the part
Demold only after the required cure. Inspect the part and finish its edges; elapsed time alone does not certify readiness.