
Polyester repair · 7 steps
In a mold
Use unwaxed laminating resin between layers. Release agent belongs on the mold, not on a bonding surface. The exposed back face needs its specified curing or finishing treatment.
Step 1. Prepare the mold
Clean and inspect the mold. Apply the release system according to its instructions.
Clean and inspect the mold
Apply the release system
Release agent goes on the mold so the part can separate. It is not finishing wax and does not belong on a repair bonding surface. Step 2. Apply gelcoat if the part needs it
If the part needs gelcoat on the mold face, apply it without finishing wax and wait for the specified condition before laminating.
Gelcoat first, on the prepared mold
Use suitable unwaxed gelcoat where laminate will bond. The release layer is below the gelcoat, against the mold; layer thicknesses are schematic. Step 3. Prepare the fiber and resin
Cut and organize the fiber before mixing. Catalyze a manageable amount of unwaxed polyester laminating resin according to its instructions.
Prepare the specified layers
Then prepare the resin
Follow the laminate design and unwaxed laminating resin instructions. The illustration does not prescribe a ply count or catalyst ratio. Step 4. Place the first layer
Apply resin and place the first layer specified for the laminate. Many conventional systems use lightweight mat behind gelcoat.
Place the reinforcement
Wet out and make contact
Use the reinforcement and sequence specified for the job. Wet out without dry areas or bridging; the backing shown is generic. Step 5. Remove air and build the laminate
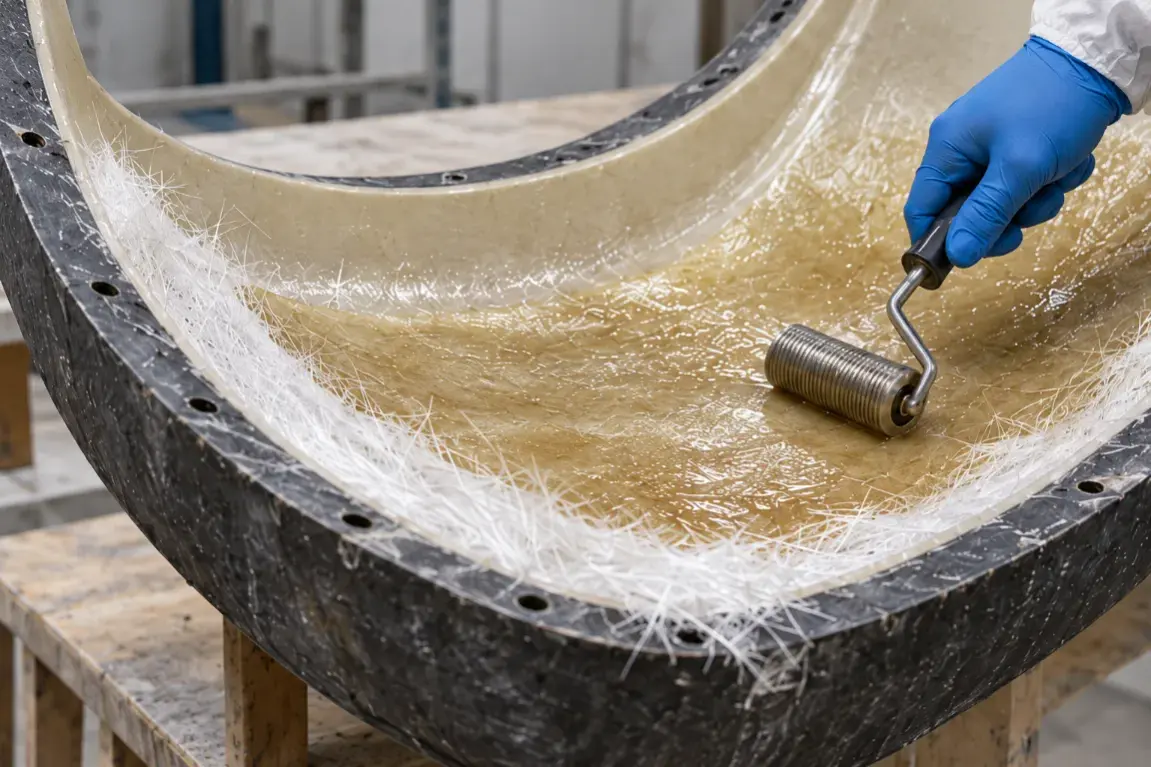
Consolidate each layer and remove air before covering it. Follow the layer sequence and curing pauses specified for the job.
Remove trapped air before covering
Consolidate each layer and inspect before adding another. Follow the allowed buildup and recoating intervals. Step 6. Finish the exposed back face
Complete the exposed face with the specified curing or finishing treatment. Leave future bonding areas unfinished.
Finish the exposed area
Reserve future bonding areas
Use the specified treatment only where appropriate. Keep future bonding areas free of finishing wax and prepare them for the intended bond. Step 7. Allow to cure and demold
Wait for the required cure before demolding. Separate the part carefully, finish the edges and inspect the result.
Meet the demolding requirements
Separate and inspect the part
Demold only after the required cure. Inspect the part and finish its edges; elapsed time alone does not certify readiness.